Tuesday, November 10, 2015

Knitting And Unexpected Psychological Whuts

Currently knitting: Three Irish Girls' "Keep On Walking In The Free World",
main yarn colorway "Harvest Moon", secondary yarn colorway "Heart of Gold"
Edited to add: this is not yet what my sock looks like

I had previously expressed my intention to do nothing more complicated than sock knitting for the month of November, but I am already feeling the faint stirrings of You Should Really Be Doing Something Real.  This is an interesting peek into the murky depths of my subconscious, because what, pray tell, isn't real about having a pair of colorful warm wool socks for when winter finally decides to show up?  

Apparently, there is that within me which does not countenance the making of objects unless they are a) historical re-creations or b) for someone else.  


So I figure as how I have a few issues to work through right there.   While that's processing, I'm going to double down on my intention to finish these socks first, and not permit myself to go chase some other shiny.  I'm not a great judge of my knitting production speed yet, but I think I should be able to finish them before the month is out (kneesocks though they are).

Once that's done, or at least once I have a comfortable enough rhythm established that I'm OK with alternating work, there comes the dicey task of choosing what to do next.

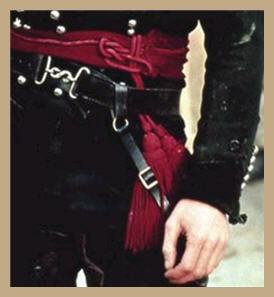
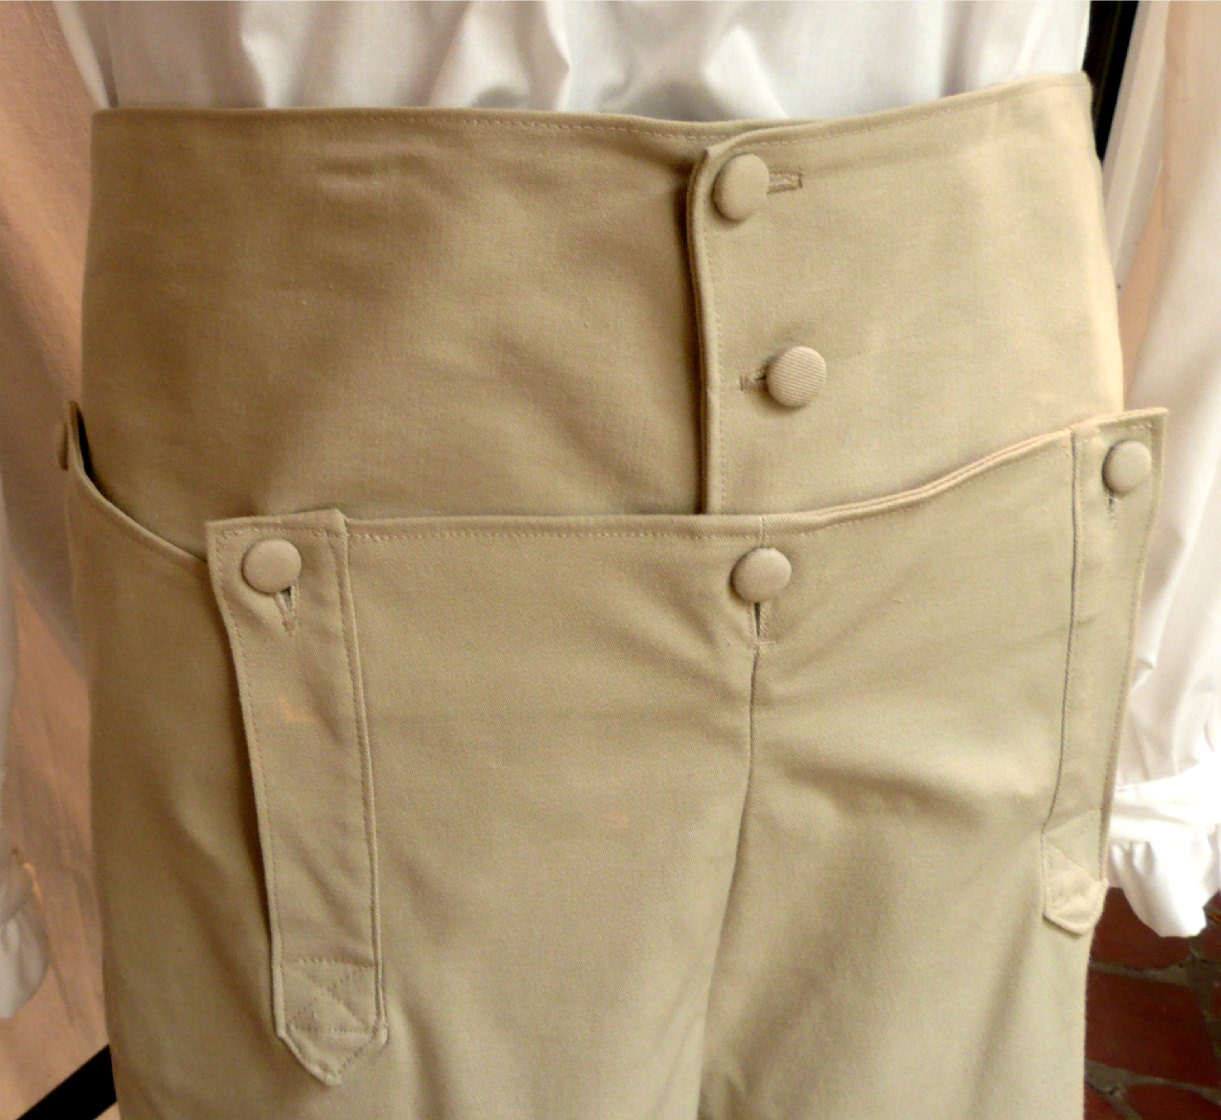
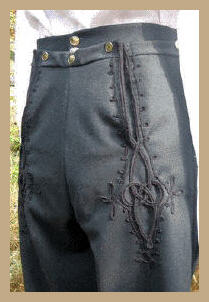
  • I have a big ol' list of mending for our medieval* clothes.
  • I have a similarly big ol' list of medieval clothes projects I'd like to begin.
  • I have yet another big ol' list of medieval household goods I wanted to make.
  • And I have a big ol' Ravelry queue of knitting projects.
  • Then there's the embroidery project ideas.
  • Oh, and one of my avoidance moments while working on The 19th Century Project was that I suddenly had some inspirations for making modern clothes.
I need to find a way to prioritize my initiatives, and be OK with that prioritization, or I'm going to end up chasing my tail and/or in a meeping pile under the blankets.

* disclaimer: any use of "medieval" in this blog can, unless specified otherwise, be assumed to include any of that weird-ass science fiction stuff that happens after Anno Domini 1410.

Friday, November 6, 2015

19th Century Project: Mission Accomplished

Current mood:
Well, thank goodness that's over.

Last check-in was a gibbering brain-dump two days before the wedding, I believe?  So, in those two days, I managed to get all the critical requirements done, except:
  • No additional braid made it onto the uniform, alas.
  • My skirt was not hemmed.  Well, it sort of was, in that I attached a wide strip of cirĂ© to the bottom of the skirt and turned it in, thus creating a hem; but having no one to hand until Saturday to actually mark the hem, on that day we found that it was way too long, so I ended up having to pin the whole thing up for the wedding.  Which, of course, started coming down over the course of the evening. But it sufficed.
  • I didn't put closures on the skirt waistband or slit.  God Bless Safety Pins.
Bugs and issues:
  • On my outfit:
    • The 1/4" historically accurate twill tape I used as my corset lacing broke when Beth was lacing me in.  ("Tighter, Mammy, tighter!")  Like the Duke of Wellington, we tied a knot and carried on; but that combined with the fact that we were already super-late and did not have time for adjustments meant that my shape was doing kinda weird things.
    • Possibly related to the above point: the bodice was riding a little higher than it should have, I think.  Also, the pointed front was occasionally drifting to one side.
    • The stuff I chose to lace the bodice was also inadequate for purpose, but at least it didn't break.
    • The sleeves on the chemise ended up being longer than the sleeves of the gown; and even after we rolled them up and pinned them (God Bless Safety Pins, again) they were slightly visible because the pleating plus the stiffness of the silk gave a sort of funnel visibility effect when I raised my arms.  I think I just have to remove them entirely.  WELL THAT WAS THREE HOURS OF MY LIFE WASTED.
    • The skirt waistband was, cough, a little small.  I think that if we'd been able to lace me up fully it would've been OK, though.
  • On my consort's outfit:
    • Somehow the center back piece of the coat ended up being a good 2" shorter than the rest of the back hem-line.  I kludged this by just sewing in another strip of fabric to make up the difference.
    • The trousers were way too short!  I realized that this was kind of Not Wrong, because you'd expect to be wearing tall boots and possibly gaiters as well, but this did not help us because he had neither.  I kludged this the same way--sewed in a strip of fabric at the bottom of each leg.
    • The collar is a leeetle tall and the cuffs definitely a bit too long.  (The cuffs will be easy to fix, the collar less so.)
    • As I think I mentioned earlier, some things went a little off the rails when calculating the shape and angle of the trouser fall, so it comes up higher and further out than it should, which skews the fit slightly in other ways.  I don't think most people would realize this, but it bugs me.
    • I should have moved the trouser side points back about a half inch on each side, so the slit at the back isn't forced open so wide.  Again, this is not wrong per se (this is why there is a slit and lacing at the back) but it makes it a less elegant fit.
All in all, however, I'm really quite pleased with our turnout.  As well, the whole project has been a major confidence booster for me; the fact that, from a cold start, I managed to create pieces that were this passable (and on a ridiculous schedule) is a pretty remarkable level-up for me. 

What's that?  You want pictures?  Oh, very well:

Going down the dance (photo by
Serena Star Photography)
My dashing escort and my bestie.
(His jacket does button fully
and comfortably, but it was
late and hot)

Afterwards; you see my hem has
entirely given up the ghost

Thursday, October 29, 2015

Blogging? Ain't Nobody Got Time For That

Suffice to say that I've been working my tail off, in spite of ridiculous setbacks (self-inflicted and otherwise) (really, sewing machine belt?  This is a good time to break?).  With 48 hours to go, the tasks remaining are:

  • For gown:
    • Baste decorative bias strips to the bodice (see picture below) (this is called a "bertha", don't ask me why)
    • Sew sleeves into bodice
    • Cartridge-pleat skirt (who has two thumbs and a case of severe avoidance?  THAT'S RIGHT)
    • Sew skirt to waistband
    • Put hook-and-eye (or something) to fasten waistband
    • Make eyelets on the right half of bodice center back
    • Hem the skirt, or else line the bottom foot or so with appropriate stiffened fabric
  • For uniform:
    • Make up tiny mind where the coatee hem will be, and cut & sew it closed
    • Add two rows of decorative button to front
    • Add decorative braid in back
    • Shorten cuffs slightly
    • Add a metric fuckton of decorative braid to front.  (This is probably not going to happen, alas, because it is an all-or-nothing job.)
    • Fringe the ends of the sash (which task is being delegated to our passenger on the drive up, ahem)

I'd also like to find some lace elbow gloves but the Town Shop failed me and I don't have time to fuck around hunting through bridal stores, so.

The main decision tree right now is, what tasks have to be/are more easily done at home; which could be done in the car (NB: I invariably get carsick if I try to sew in the car), and which could be done in the ~24 hours between arriving at the wedding location and the actual wedding...


Uniform coatee, constructed (but not yet
ornamented or en-buttoned).

The bodice, functionally complete, with
decorative bias strips laid out


Wednesday, October 21, 2015

Is That A Milestone Whooshing By, Or A Deadline?

Gentlemen, behold!  PANTS!
Well, both, really.

I completed one milestone this week--the trousers are finished!  (The photo is from Monday, when the construction was completed; last night I did the finish-y bits--hemming, attaching the suspenders, etc.)  Of course I only see the errors and the places where I didn't quite Get It, but the customer reports that they are comfortable and trouser-like.  I shall count that as "essential requirements met".

However, looking at Ye Project Plan, I find that there were a whole bunch of tasks I should have completed by now, and I'm feeling a little hinky about it.  The good news is, this weekend I shall have the advantage of tapping some sweatshop help, but I need to get enough done beforehand so that there's work that I can farm out.   I'm at the point of praying that the fridge repair guy will come tomorrow or Friday so I'll be forced to take a personal day. 

Anyone got a scarlet sash
I can borrow, while we're
at it?  I AM NOT LEARNING
$*@& SPRANG FOR THIS
Tonight's task is to cut out & assemble the muslin of the dress bodice, which I will take out to Kasia, Princess of Draping, tomorrow night for a fit check (I know dam' well it'll have to be shortened, at the very least) and confirm the bone lengths I need for it.  Yes, the dress is boned even though it's worn over a boned corset; those wacky Victorians, man.  I'd also like to get the uniform coat pieces cut out so I can have more portability for the weekend's work. 

Again, the actual construction of the coat and the dress both aren't particularly complicated, as these things go (the more so since I spent a little time redacting & simplifying the coat pattern--it is very meticulous in its historical accuracy but ain't no one got time for that now and by Crom we will machine-work the shit out of this).  It's more that there are some tasks which are inflexibly slow, like 22 buttonholes on the coat, or 144" of cartridge pleating on the skirt.  (And the less said about the uniform trim, the better *sob*.)  If I can apply Mongolian Hordes Technique to those portions, I'll be in good position to do the rest of the work over the upcoming week.

Still gonna be some late nights, though.

Thursday, October 15, 2015

Time Passes And Progress Is Made


Half a loaf?
Dear Internet, it has been 10 days since my last confession, etc.  I was away and resolutely Not Sewing from Friday through Monday afternoon, which was perhaps imprudent as to time use but good for the soul; but I did not sit idle the rest of the time. Thursday, Monday, and Tuesday evenings I advanced the corset a good ways, and the left half of it, as you see above, is complete.  (It is better practice, I believe, to do each step to both sides before proceeding to the next step; but when I had reached the bone placement, I just wanted to get one part done both for confirmation that it would come out right, and as a morale booster.)  I won a little time by finding some bias tape in my stash of a color I thought appropriate and agreeable--that's the pale blue edging you see in the photo--so didn't have to faff about cutting and forming bias bindings out of fabric.  If I have infinite time, HAR HAR, I would put the same lace from the chemise along the top, and perhaps thread a pale blue ribbon through, or do pale blue flossing along the boning channels.  

All in all I'm reasonably pleased with it so far.  There are wrinkles and unevenness--my machine sewing has greatly improved, but is still not precision, so there are spots where the fashion fabric piece was slightly larger than the lining it's supposed to match.  But, as a first effort, it is acceptable.

Last night I set the corset aside to attack my ancient enemy, the uniform trousers.  I had cut out all the fabric pieces when I got home on Monday, when there was still daylight, so I could dive in at any moment; this is a good strategy and I will do more of it in future.  So, I was well positioned to begin, and the first steps went slowly (it's all hand-sewing) but tolerably well.  Then my frail barque of confidence became dashed on the rocks of the fall binders.  What is a fall binder, you ask?

So.  Here's a pair of Regency pantses, opened up for your delectation:


The "fall" is that flap that's come down at the front, so that sir can take a wee without actually dropping his drawers.  The "fall bearers" are the matching, somewhat trapezoidal bits (in two parts, left and right), with two buttons, that, if the fall was raised up, would be completely covered by it.  And the "fall binders" are not terribly visible in the photo but they are what binds (see?) the fashion fabric of the fall to the lining of the fall.

Clear as mud?  Try this one:


Here's a pair of trousers for sale on Etsy, that I am as sure as sure can be were made from the same pattern I'm using now.  The fall binders are the long strips on the side of the fall, with the button at the top and the pointy bit at the bottom.  (Here's an actual pair from the V&A, which if you enlarge the image and turn up the brightness on your screen you can see similar binders.) Trying to get all this to line up, particularly with a slightly thick wool that doesn't really want to press, was driving me up a tree; the more since, even with having made the muslin, I didn't really grok how exactly the geometries were working.  And of course, because I had to frob parts of the pattern for correct fit, none of the marking dots were lining up for me.  I finally decided to set it aside for the evening...whereupon five minutes later I stood up and parsed it out enough to start from a better position on my next window of work.  So that's OK, but I was still rather stressed and upset, a situation that was not helped by our apartment hot water now not going above 100 of your Earth Fahrenheit degrees for the whole week so showers are restricted to "tepid at best".

The final insult-to-injury, well, let's have a picture worth 1k words:


re-creation of Sharpe's pants...though not
100% accurate anyways as his actual
trousers were cavalry trousers with
leather lining on the crotch & inseam
What do we not have any here?  FALL BINDERS.  The trim is performing the work of holding the fall and lining together instead. So I didn't really need to fuss with the stupid things in the first place.  :-/  I guess it's just as well, though, since I haven't found the right trim yet, so I'd've been at a stand-still until I did.


Tuesday, October 6, 2015

Early Victorian Unmentionables

Grommeting is fun but should not be done before 11am on a Sunday morning
 I was determined to get my underpinnings (corset and chemise) done this weekend.  This proved to be an....aspirational goal, to put it mildly, though not for the reasons I anticipated.  I had thought that getting the corset busk and eyelets in place would be massively time-consuming, but in fact it was about two hours in total.  Indeed after diligent work Saturday evening and a little of Sunday morning, it's ready to have the bones taped in one mo' time and the thing laced on for a final fit check.  (I did, however, realize that I made my pen marks on the right side of the lining fabric, because I was thinking of it as the fashion fabric, and...eh well.  No one will see it but me.)  Anyways the tasks remaining...if I have not screwed it up completely...are:

  • Sew together the cotton sateen outer layer, attach to the center-front and center-back pieces on each half of the corset (quick machine work)
  • Tack the fashion fabric and lining together along each seam (hand work, but still relatively quick?  But there are a lot of seams)
  • Sew the boning channels (quick machine work)
  • Insert bones (10 seconds)
  • Bind the top and bottom of the corset (eh...probably hand work)
...Then I realized how much work that all adds up to, and a slow tear rolled down my cheek.

ANYways.

I had set the corset down for the time, because I wanted to have the chemise ready in order to fit the corset over it; not strictly speaking necessary, but I figured it would help me confirm that I had the look reasonably correct.  Also, I thought it would be a quick and easy win.  HA HA HA no

The chemise of the mid-to-late 19th century has a form that I was not expecting, though many of today's nightgowns are not dissimilar; there is a yoke piece that covers the upper torso, front and back, and then the rest of the body is a wider piece of fabric (front and back, again) which is thus full over the belly and hips but is gathered into the yoke piece.  And then you can have sleeves, or not, as you choose/your decade dictates--and if you do, they are also gathered.

I expect the corset pushes
the bQQbies up into
those curvy front parts of
the yoke.
That's a lot of gathering.  Also, gathering is time-consuming.  Also, easing all of this crap into all of these curves is super-time-consuming.  And finally, a lot of that really should have been hand-sewn, because trying to get all those curves in a reasonably small space without catching folds of one of the layers was something I kept failing to do by machine, leading to lots of cussing and seam-ripping.

However!  It is mostly done; I have only to sew down the facing all the way around (more hand-sewing, but relatively quick) and do whatever weird finishing you're supposed to do on the center front, which I am having some issues visualizing from the directions but I'm sure it'll work out. I should, of course, also hem the sleeves and the bottom, and maybe make some pretty tucks on the skirt, but at this point I am madly tossing requirements overboard like lead bricks from a sinking lifeboat.  

But it's actually looking like a garment.


Friday, October 2, 2015

95th Rifles Uniform: Panic At The Disco

One of those is my right brain, one's my left brain.  I leave it to you to determine which is which

This week, October started.  That means I'm down to T-30 days, and shit be gettin' real, as the kids say; and as of bedtime Monday I still had not put scissors to a single piece of fashion fabric.  Monday evening was slated for admin tasks: go through fabric swatches that had arrived in the mail, work out what bones I really needed for the corset (the ones calculated by the pattern size were unsurprisingly too long, since I am short and squat), order the 65 buttons to sew on the uniform coatee, etc.  However, what actually happened is that I fell down a rabbit hole of Too Much Information, which was both a) very helpful and b) incredibly daunting.


Because Sharpe's coat didn't have ENOUGH
buttons.  D:
Said rabbit hole was a forum for the 2/95th Rifles re-enactors in Britain, who (like most military re-enactors) are some pretty serious cats.  Specifically it was a thread in which one of their chief tailors set out on a commission to make a full outfit for a new officer recruit; he continued to blog his progress via thread updates, culminating in photos of the finished product (which looked pretty darn amazing, at that).  If you are curious, you can check out the thread here, but for the TL;DR contingent, let me just sum up by saying the project took him about six months.  six.  SIX.  In vain did I console myself that it wasn't the only project he was working on; in vain did I reason that he was making the entire outfit, not just coatee and trousers.  All I could hear was SIX MONTHS.  Though, on the bright side, the thread also supplied me with some details and descriptions of both the only surviving officer's coat of the era (which is in the Royal Green Jackets museum, but not pictured anywhere on their website, grr) and some other details they had painstakingly exacted from other primary sources.   Long story short, here are my takeaways, as they used to say in meetings:

- Sharpe's trim is soutache (or Russia braid).  The originals used silk twisted cord. Soutache being thicker, that's probably why they just made Sharpe's buttonholes as loops made out of the trim, rather than for-realsies buttonholes.  I'm having an impossible time finding wide enough soutache (usually what you see is 1/4" or smaller), and also soutache is harder to sew. On the other hand, since the cord is narrower, they fit a lot more buttons.
RESULT: I will use twisted cord, but space it all out more like Sharpe's.  Might use wider cord, too.

- The odd three-tab bottom on the back of Sharpe's coat is a misunderstanding of the vestigial cornered tails on the back of the original. 
RESULT: I will make the pointed tails like in the original, which will also avoid the "I can see your shirt peeking out" problem.


This is Walter Clarke's actual jacket.
Note the bottom center.
see the tabs there?  Someone didn't grok what he
was looking at.

- There's still something weird going on with the cuffs between this one and Sharpe's.  They look the same, but somehow the buttons come out different?  
RESULT: handwave the shit out of it.

- [Extended dither about fabric goes here.]
RESULT: use the excellent wool twill; and when I have the buttons in hand, give them a good heft, figure out if I'm going to need to interline, and do the job.

Anyways, all of these results are well and good now, when I've thought them through and come to decisions; but in the moment I went to bed with a teeming brain...and then woke up in the wee hours with my heart thundering as if it was going to burst out of me like a baby Alien.  Pulse up from my usual ~70 to a good 95 beats per minute. It took about an hour and a half to calm down and get back to sleep.

And then I was adrenalized, twitchy, and on edge during the day.

And then it happened again the next night; und so weiter.

I have, at the earnest representation of my friends, taken medical advice, and it would appear that this is some sort of anxiety or panic attack.  Just knowing that has helped somewhat; and I've taken more positive action, and I've written everything (!) up into a work breakdown structure, and I feel like the physical symptoms are in abeyance.  But I'm really torked about having to waste cycles on this.  OBEY, MEATSACK PARTS.

(In the words of one of my sewing circle: "Have you considered taking on projects with fewer bees in them, which will reduce your chances of becoming Covered in Bees?")